
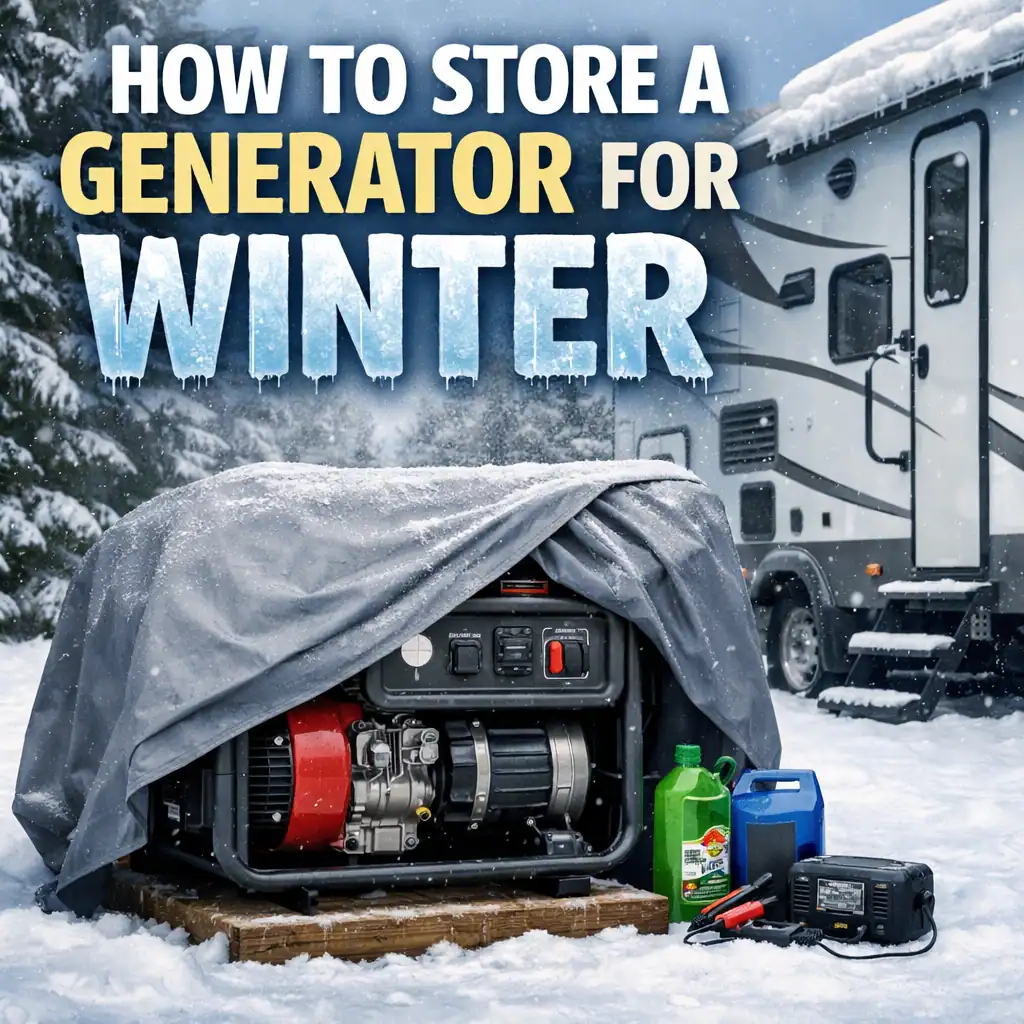
Introduction
Properly storing your generator for winter is essential for protecting its engine, fuel system, and electrical components.
Many RV owners rely on portable inverter generators during camping season but overlook seasonal maintenance. Improper storage can lead to hard starting, clogged carburetors, stale fuel, and even permanent engine damage.
Whether you use a compact 2000 watt model or a larger unit designed to run air conditioning, proper off-season care is critical for long-term reliability.
In this guide, we’ll walk through the step-by-step process for winterizing and storing your generator correctly so it’s ready to run when camping season returns.
Why Proper Winter Storage Matters
Generators that sit unused for several months are vulnerable to fuel degradation, moisture buildup, and internal corrosion.
Gasoline begins to break down in as little as 30 days, forming varnish deposits that can clog carburetors and fuel lines. Ethanol-blended fuel attracts moisture, increasing the risk of corrosion and difficult startups in the spring.
Cold temperatures and humidity can also affect engine oil, battery performance, and exposed metal components.
Proper winter storage prevents:
- Fuel system damage
- Hard starting issues
- Engine corrosion
- Reduced generator lifespan
Taking the time to store your generator correctly can save costly repairs and extend its usable life.
Step 1: Clean the Generator Before Storage
Before storing your generator for winter, thoroughly clean the exterior and inspect for debris.
Start by allowing the generator to cool completely. Then:
- Wipe down the exterior housing with a dry or slightly damp cloth
- Remove dirt, dust, and leaves from air intake vents
- Check cooling fins for debris buildup
- Inspect for oil leaks or loose hardware
Avoid spraying water directly into vents or electrical components. Moisture can damage internal parts and wiring.
Cleaning the generator before storage prevents corrosion and ensures any developing issues are spotted before months of inactivity.
Step 2: Drain or Stabilize the Fuel System
Fuel left untreated during winter storage can clog carburetors and damage internal components.
You have two main options:
Option 1: Drain the Fuel System
This is the most thorough method.
- Turn off the fuel valve
- Run the generator until it shuts off (burns remaining fuel in carburetor)
- Drain any remaining gasoline from the tank
- If accessible, drain the carburetor bowl
This method removes fuel entirely and reduces the risk of varnish buildup.
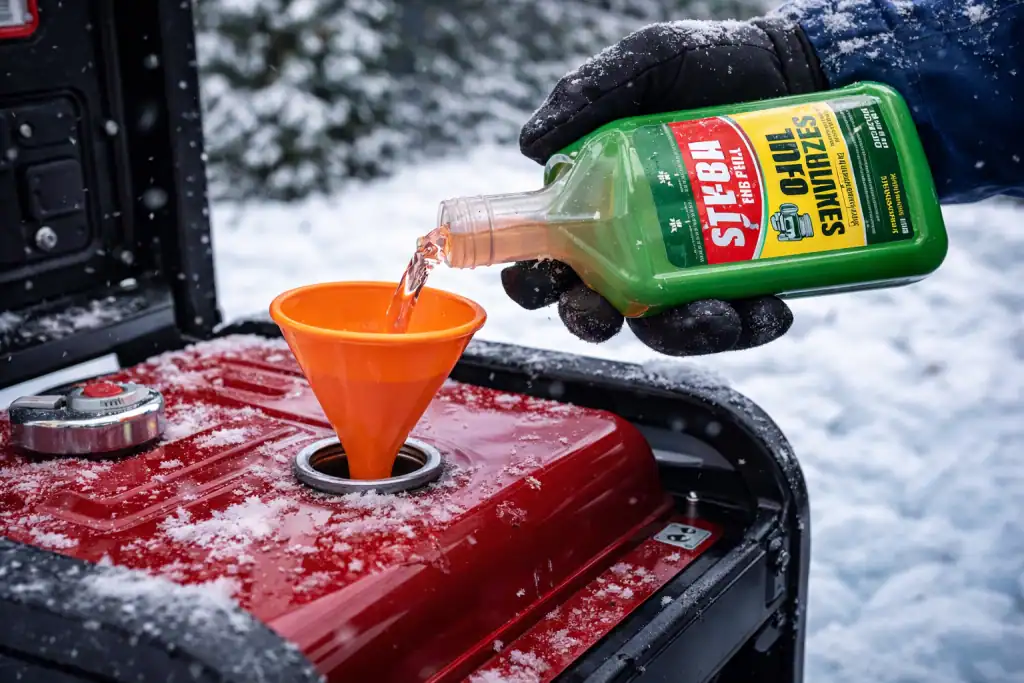
Option 2: Use a Fuel Stabilizer
If you prefer not to drain the system:
- Add a high-quality fuel stabilizer to fresh gasoline
- Run the generator for 5–10 minutes to circulate treated fuel
- Turn off the fuel valve and allow engine to shut down
Fuel stabilizer helps prevent oxidation and moisture absorption, but draining the system remains the most reliable method for long-term storage.
Fuel issues are one of the most common problems RV owners face. If you’re unsure whether your generator is sized correctly for your trailer, see our guide on what size generator for a travel trailer.
Step 3: Change the Oil Before Storage
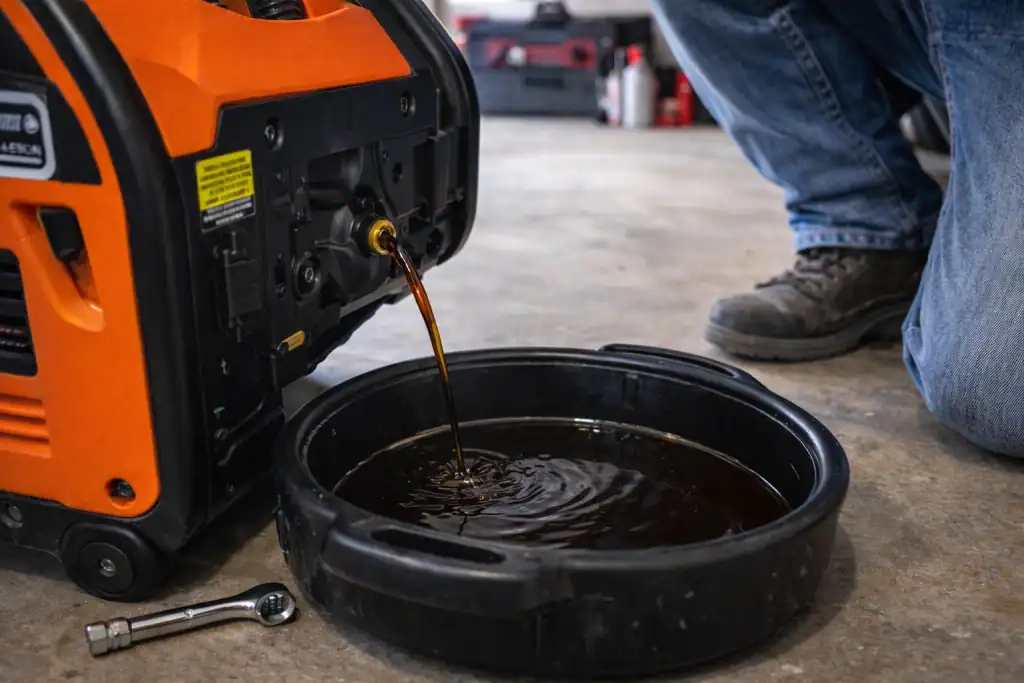
Changing the oil before winter storage helps remove contaminants and moisture that can cause internal corrosion.
Used engine oil contains combustion byproducts and small metal particles. Leaving dirty oil inside the engine for several months can accelerate wear and corrosion.
To prepare the engine:
- Run the generator for a few minutes to warm the oil
- Turn off the unit and allow it to cool slightly
- Drain the old oil completely
- Refill with manufacturer-recommended oil
Fresh oil provides better protection during extended storage and ensures smoother startup when camping season returns.
Step 4: Protect the Battery (Electric Start Models)
If your generator includes an electric start feature, the battery requires special attention during winter storage.
Cold temperatures and long periods of inactivity can discharge the battery, reducing its lifespan.
To protect the battery:
- Disconnect the battery terminals
- Store the battery indoors in a dry, moderate-temperature location
- Use a battery maintainer or trickle charger to keep it properly charged
If removing the battery is not practical, at minimum disconnect it to prevent slow discharge over the winter months.
Proper battery care ensures your generator will start reliably when camping season resumes.
Step 5: Store in a Dry, Ventilated Location
Where you store your generator during winter matters just as much as how you prepare it.
Choose a location that is:
- Dry and protected from moisture
- Well ventilated
- Free from direct exposure to snow or rain
- Away from open flames or ignition sources
A garage, shed, or covered storage area is typically ideal. Avoid storing the generator directly on concrete floors if possible — placing it on a wooden board or mat can help reduce moisture transfer.
Proper storage location prevents rust, corrosion, and premature wear.
Step 6: Cover the Generator Properly
Once your generator has been cleaned, serviced, and placed in a proper storage location, covering it helps protect against dust and debris.
Use a breathable generator cover designed for storage. Avoid airtight plastic coverings, which can trap moisture and increase the risk of corrosion.
A proper cover should:
- Fit securely
- Allow air circulation
- Protect against dust and minor debris
- Be removed easily for inspection
Covering the generator helps keep internal components cleaner and reduces exposure to environmental contaminants during long storage periods.
Common Winter Storage Mistakes to Avoid
Even well-intentioned RV owners can make mistakes when storing generators for winter.
Common errors include:
- Leaving untreated fuel in the tank
- Skipping the oil change
- Forgetting to disconnect or maintain the battery
- Storing the generator in damp or unventilated areas
- Using airtight plastic covers that trap moisture
These oversights can lead to clogged carburetors, dead batteries, corrosion, and hard starting in the spring.
Taking a few extra steps before storage can prevent expensive repairs and ensure your generator is ready when camping season begins.
How to Restart Your Generator After Winter
When camping season returns, take a few minutes to properly restart your generator after winter storage.
Follow these steps:
- Inspect the exterior for dust, debris, or rodent damage
- Reconnect or reinstall the battery (if removed)
- Check oil level and top off if necessary
- Add fresh gasoline if the tank was drained
- Turn the fuel valve on and start the generator
Allow the generator to run for several minutes under light load to ensure smooth operation. Listen for unusual sounds and verify stable power output before connecting your travel trailer.
Performing a careful restart process helps confirm that winter storage was successful and prevents unexpected issues during your first camping trip.
Final Thoughts
Proper winter storage protects your generator’s engine, fuel system, and electrical components during months of inactivity.
By cleaning the unit, addressing the fuel system, changing the oil, maintaining the battery, and storing it in a dry location, you can significantly extend its lifespan and reduce the risk of costly repairs.
Choosing the right generator is important, but proper maintenance ensures it lasts for years of reliable camping.
A few preventative steps in the fall can ensure your generator is ready to power your travel trailer reliably when camping season begins again.